

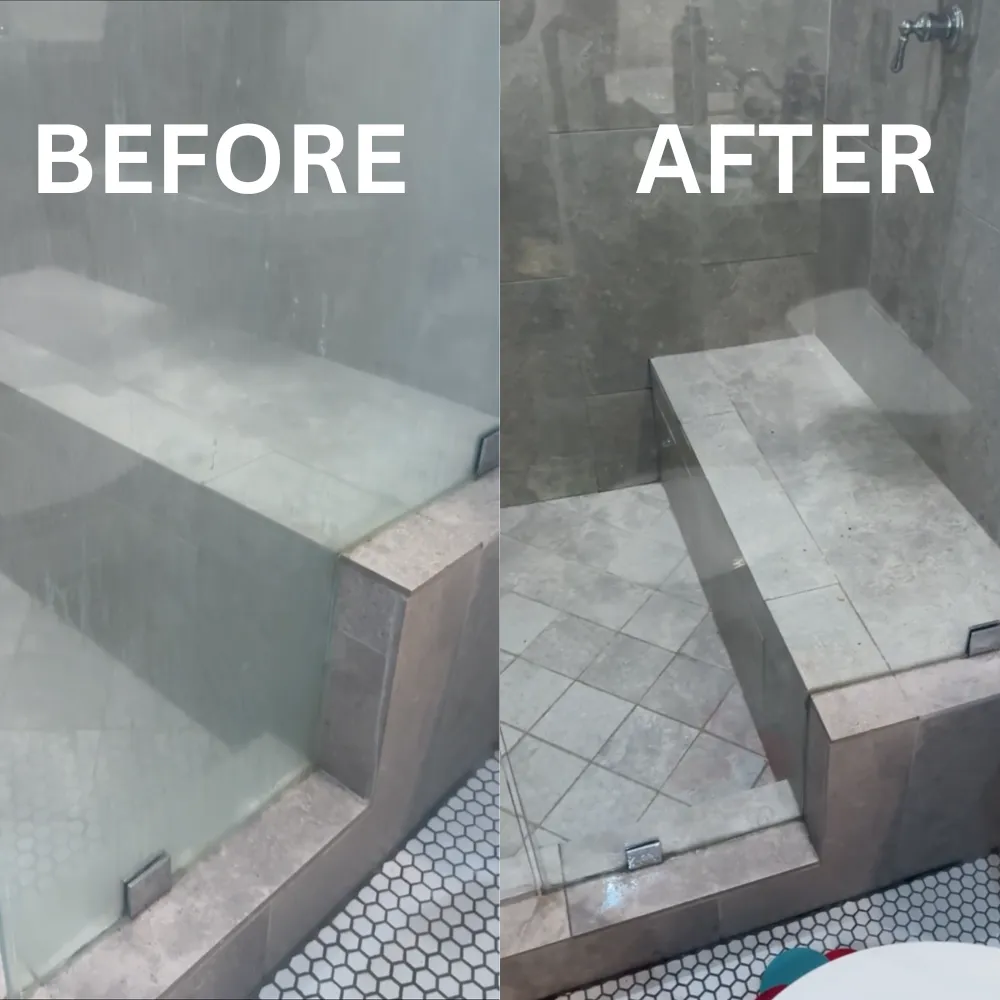
Every week someone calls us after a weekend of scrubbing, and the story is almost always the same: there was one scratch, they read a tip online, and now there is a cloudy patch the size of a dinner plate around it. The popular glass scratch myths — toothpaste, baking soda, a rag and some elbow grease — do not fail quietly. They fail by spreading the damage across the panel, and by the time we see it, we are fixing two problems instead of one.
Why the popular glass scratch myths fail on real scratches
Glass is roughly 5.5 on the Mohs hardness scale. That single number kills most of the internet’s advice on the spot.
Toothpaste. The abrasive in toothpaste is usually hydrated silica or calcium carbonate — softer than the glass you are rubbing it on. It cannot cut glass, so it cannot remove a scratch. It does polish the film of soap and mineral residue on the surface, so the panel looks better in bathroom light and people take that as progress. The scratch is still there; it was never touched.
Baking soda. Softer still, and it dissolves as you work — the paste you finish with is not the paste you started with. It is a cleaner, not an abrasive system.
Nail polish and “fill it in” tricks. A resin with a different refractive index than glass does not make a scratch disappear — it makes it visible in a different way. In direct sun you get a shiny line instead of a white one, and anyone restoring the panel later has to strip the filler first.
Automotive rubbing compound and scouring powders. These sometimes do contain particles hard enough to affect glass, which is worse, not better: without a backing pad, water, and a fixed abrasive sequence, you are grinding random-size grit across the surface by hand. That is how a two-inch scratch becomes a hazy zone.
Cerium oxide bought loose with no system. Cerium is real — it is the final polishing stage professionals use. But it will not remove a scratch you can feel; it erases the fine haze left by coarser stages. Going straight to cerium is like sanding a gouge out of wood with 2000-grit paper: hours of work, no result, and a burnished patch that reads differently from the glass around it.
What abrasive home attempts actually add to the damage
The damage from a failed home attempt has a signature, and we can read it across the room:
- A haze field. Thousands of shallow micro-scratches around the original mark. The single scratch was visible from one angle; the haze is visible from all of them.
- Optical distortion. Hand pressure is never even. Rubbing one spot hard enough, long enough, removes glass unevenly and creates a shallow lens. Look through it at a straight line — a window frame, a door edge — and the line bends. It is the hardest fault to correct, because fixing it means bringing the surrounding surface down to match.
- Destroyed coatings. Low-E, anti-spot, and privacy coatings live on the surface, not inside the glass. Any abrasive takes them off in patches, the panel then cleans unevenly, and no polish brings back a coating that is gone.
- Grit in the hardware. Abrasive migrates into gaskets and channels, then works back out during the next cleaning and scratches the panel again.
How to judge whether a scratch is even repairable
Here is the test we use before we quote anything. Clean and dry the glass. Run a fingernail across the mark at a right angle, lightly.
If the nail glides over and you feel nothing, you are usually looking at surface residue, light etching, or a mineral deposit — the kind of thing that responds well to restoration. If the nail catches and drops into the line, that scratch has depth — and depth changes the conversation: correcting it means removing glass evenly around it until the surface is flat again, and how much can be taken depends on thickness, glass type, and whether it is tempered. Photos tell us the pattern and the likely cause; the panel tells us the rest.
How professional glass polishing actually works
Restoration is not one magic paste. It is a progression, and the progression is the trick.
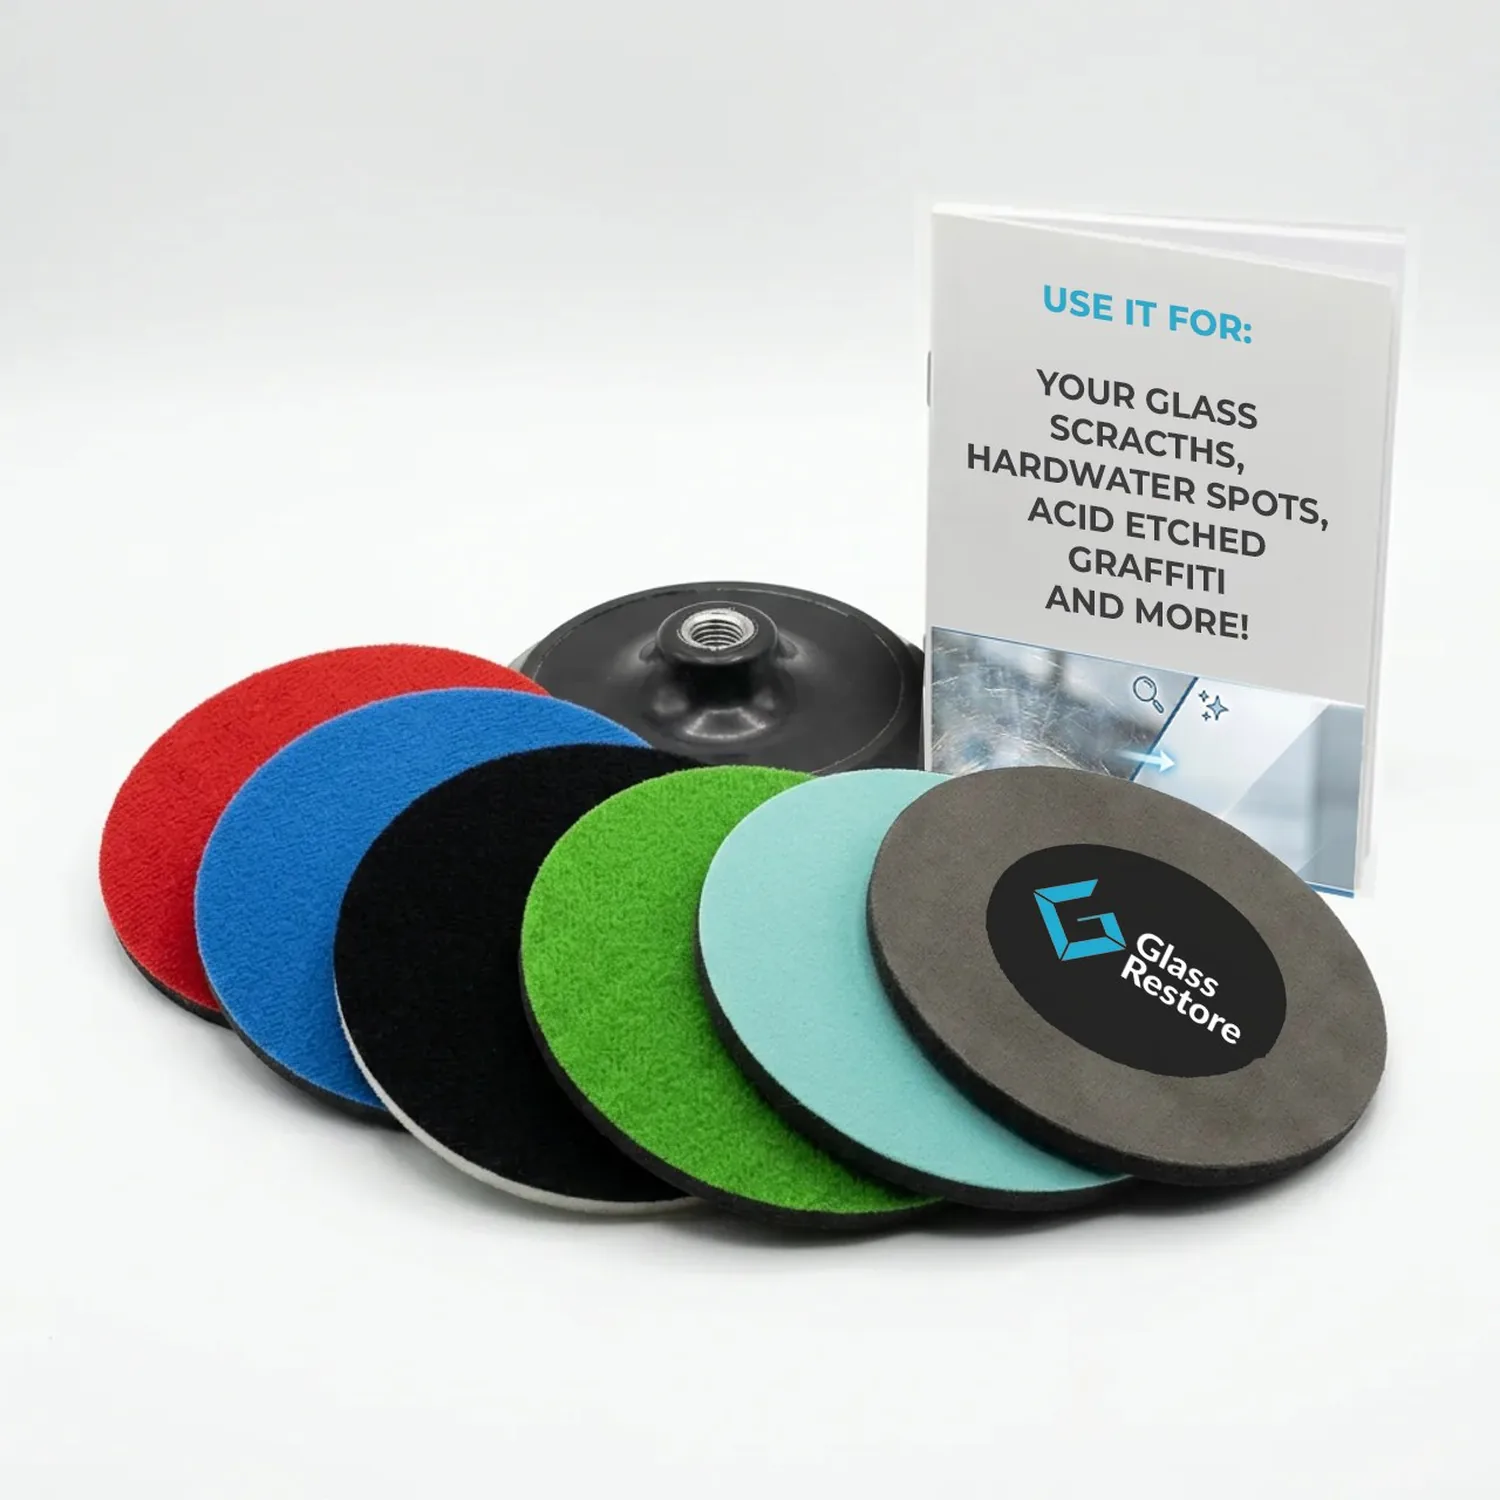
We start with the coarsest abrasive that will take the damage out, then step down through progressively finer grades — each stage exists only to erase the marks left by the stage before it. Everything runs wet, at controlled speed, with the pad kept flat and moving, because heat is the enemy and a pad held in one place builds it fast. The work gets checked constantly from both sides and at low angles: glass hides its faults straight-on and shows them in raking light. The final cerium stage brings the clarity back.
Where a kit fits — and where it does not
Plenty of damage is genuinely DIY-able if you use a real abrasive sequence instead of a home remedy. That is why we sell the same system we use: the DIY glass restoration kit ($279) for homeowners dealing with hard water spots, light etching, and minor scratches, and the Commercial kit ($499) for maintenance crews and property teams running many panels.
What we would not hand a first-timer: deep scratches a nail catches on, acid-etched graffiti, coated glass, large storefront panels, or an expensive frameless shower door. Those belong with someone who has ruined enough practice glass to read what the surface is telling them.
Before you rub anything
If you have a scratch, do nothing to it yet. Take a photo straight on and a second one at an angle with light raking across the surface, and text both to 818-356-1345. We will tell you straight whether it is residue, etching, or a real scratch, and whether it is a job for a kit or for us — before one line becomes a cloudy panel.
More on what the service actually covers: glass scratch removal in Los Angeles and shower door glass restoration.